Updated October 2026
Straight answer
Under-cabinet lighting in a Boston kitchen is either hardwired LED bars fed by line voltage cable or low voltage LED tape run from a hidden driver. Bars are simpler to service; tape gives a continuous line of light. The best time to wire it is before the backsplash goes up, but most existing kitchens can be done without opening much wall.
Light where you actually cut and cook
Most kitchens are lit from the ceiling, which puts your own shadow on the counter right where you are cutting. Lighting under the cabinets fixes that, and it does more for a kitchen than any other lighting change of similar size. The job is mostly about hiding things: the cable, the driver, the connections and the glare from the bare LEDs.
The cabinets decide a lot. Most have a recessed bottom with a lip at the front, which hides a slim fixture. Flat-bottom cabinets need a light rail or a fixture shallow enough not to show. We look at the cabinet bottoms, the wall behind them and the route back to a lighting circuit before suggesting a type.
Bars, tape and where the switch goes
Hardwired LED bars
Hardwired bars are slim linear fixtures that run on line voltage with the driver built in. Each one gets cable through the wall into its end or a short link cable to the next bar, so there is no plug-in transformer hanging under the cabinet. They are easy to replace one at a time if a bar fails, and many have a switch at the fixture as a backup. The trade-off is that bars come in fixed lengths, leaving small gaps at cabinet joints, and line voltage cable has to be routed through the wall or cabinet backs. In an existing kitchen we fish from the ceiling or a nearby box, keeping holes behind the cabinet line where they never show.
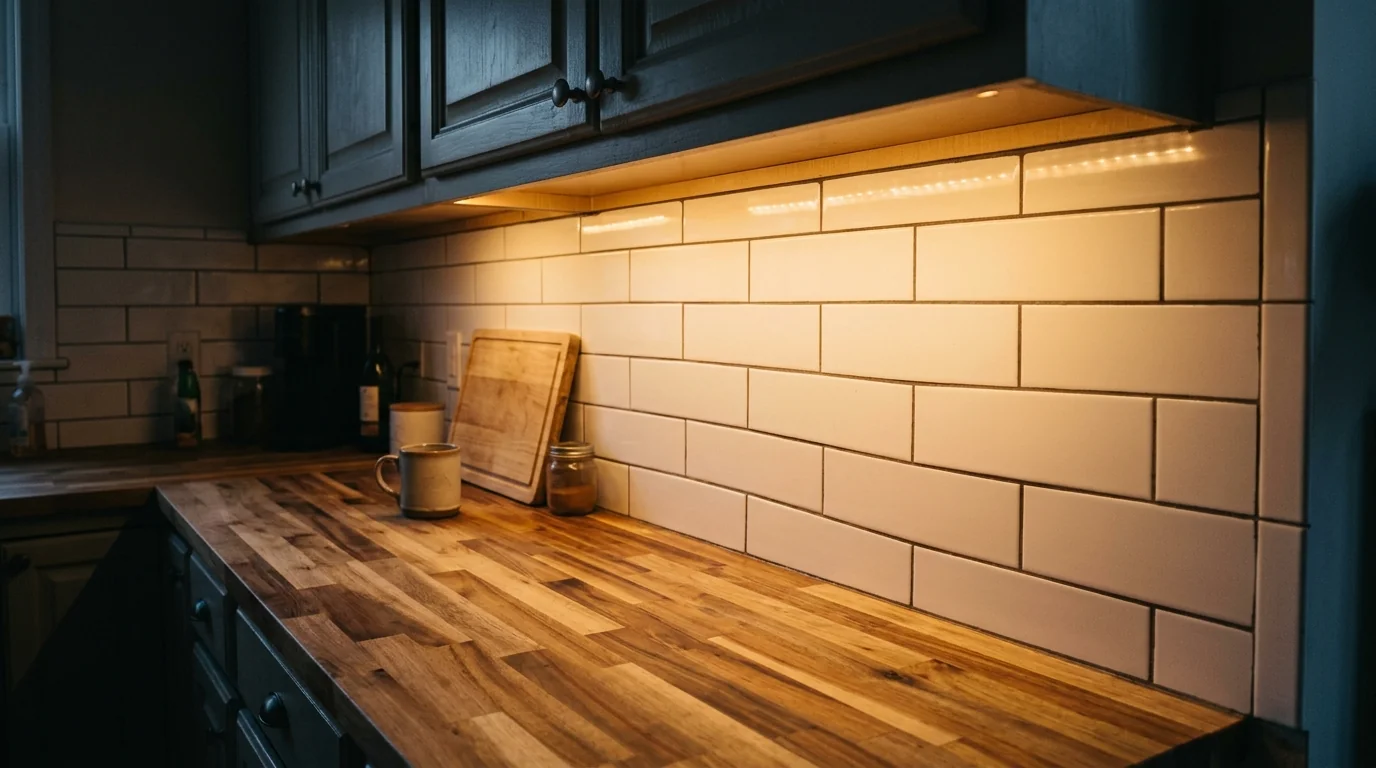
Low voltage tape lighting
LED tape gives an unbroken line of light and can be cut to length, so it follows cabinet runs and corners neatly. It runs on low voltage from a driver, which we place in a cabinet top, a soffit or inside a sink base with access, never buried in a wall. Tape set into an aluminum channel with a diffuser looks far better than bare tape and lasts longer, because the channel pulls heat off the LEDs. Long runs need power fed at more than one point or the far end dims. The trade-off is serviceability: a failed driver or a damaged section means getting into the cabinet, so we leave the driver where you can reach it.
Switch and dimmer placement
Under-cabinet lights are used constantly, so the control has to be in an easy spot. Most often that means a dedicated switch near the main kitchen entry or beside the range, ganged in with the ceiling light switches. A dimmer is useful here, since full brightness for cooking is much more than you want for a midnight glass of water, but it has to match the driver. Low voltage drivers often need a specific dimmer type, and a mismatch brings flicker. Fixture-mounted switches and touch sensors work as a backup but get awkward behind a full counter. We plan the switch before the cable, since it decides the route.
Tired of working in your own shadow at the counter? We can light it.
Call (617) 843-6591What drives under-cabinet lighting cost
Under-cabinet lighting is priced on the kitchen layout and how the wire gets there. These are the main factors.
- Total cabinet length. More linear feet means more fixture or tape and more connections.
- Bars or tape. Hardwired bars and channel-mounted tape differ in parts and in labor.
- Wall access. Open walls in a remodel are fast. Finished walls behind cabinets take fishing.
- Driver location. Tape systems need an accessible driver spot, sometimes with a new outlet or box.
- Number of runs. Separate cabinet runs on different walls each need their own feed.
- Controls. A new switch location or a matched low voltage dimmer adds devices and wire.
LED bars or LED tape for your cabinets
Both systems light a counter well. The choice comes down to the look you want and how easy you want service to be.
| Feature | Hardwired LED bars | Low voltage tape in channel |
|---|---|---|
| Light line | Short gaps between bars | Continuous, cut to length |
| Driver | Built into each bar | Separate driver in a reachable spot |
| Service | Swap one bar | Replace a section or the driver |
| Dimming | Many models dim on a standard LED dimmer | Needs a dimmer matched to the driver |
Kitchen circuits, permits and code
Kitchens in Boston's older homes have usually been redone more than once, and every round leaves wiring behind the cabinets that nobody drew on a plan. Before we feed under-cabinet lights, we find out what is already in that wall: a spliced extension, a dead run from an earlier layout, or a countertop outlet circuit already doing plenty of work. Plaster and lath behind the uppers can make fishing slow, so we often bring the feed down from above the cabinets or through the soffit instead. The goal is a clean, switched lighting feed and no new holes in the backsplash.
What an under-cabinet install includes
- Layout of fixture or tape runs per cabinet
- Feed from a lighting circuit
- Cable routed behind the cabinet line
- Driver placed where it can be reached
- Aluminum channel and diffuser for tape runs
- Switch or dimmer installed and matched
- Light checked for even output end to end
How we light a kitchen counter
Look at the cabinets
Cabinet bottoms, lip depth, wall material and where the nearest lighting circuit runs.
Pick the system
Bars or tape chosen, with fixture lengths or tape runs measured per cabinet.
Route the wire
Cable fished or run in open walls, with entry holes hidden behind the cabinet line.
Mount and connect
Fixtures or channels mounted at the front of the cabinet bottom, driver set where you can reach it.
Tune and test
Dimmer matched to the driver, every run checked for even light and no flicker.
Under-cabinet lighting questions
In most kitchens, yes. We fish cable from the ceiling, a cabinet top or a nearby box and bring it out behind the cabinet line, where small holes stay hidden.
They work, but the cords and plugs show and they take up counter outlets. A hardwired system frees the outlets and puts all the lights on one switch.
Tape gives a continuous line of light and fits odd lengths. Bars are easier to replace one at a time. Both look good when placed at the front of the cabinet bottom.
Usually the dimmer and the driver do not match. Low voltage drivers often need a specific dimmer type. Swapping one or the other almost always fixes it.
Somewhere you can reach it later, such as above the cabinets, in a soffit or in a sink base. Never sealed inside a wall.
Yes, if the fixtures or driver are dimmable and the dimmer is listed as compatible. We check that pairing before installing.